Once you have created your campaign you can change its settings and content. By clicking the name of the campaign in the campaigns list you get to the basic campaign details page. By clicking the 


Click the
Click the 
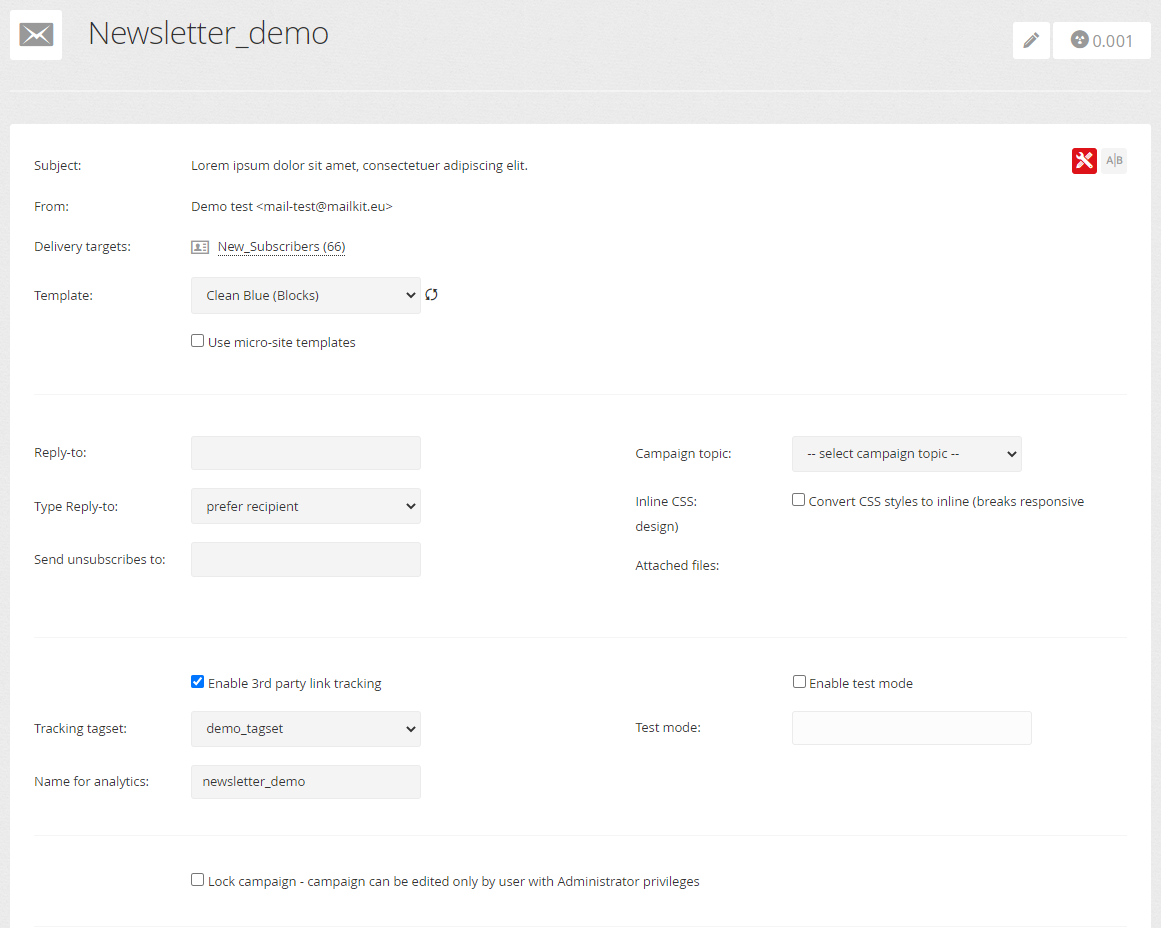
Subject
Fill in the subject of your campaign. Personalization and conditions can be used in the subject.
From
Select your sender address. Campaigns can be sent using verified addresses only. If you don't see any address it means no address has not been verified yet, or the address is on a domain that does not have DNS correctly set up, see Sending address setting.
Delivery targets
This is where you choose which recipients the campaign will be sent to. You can send your campaign to either the recipient list(s) or the delivery data source (delivery feed).
Template
If the campaign is based on a Smart template or a Content style template is used in the campaign, you can select another from the drop-down menu if the template needs to be changed. You can use the 
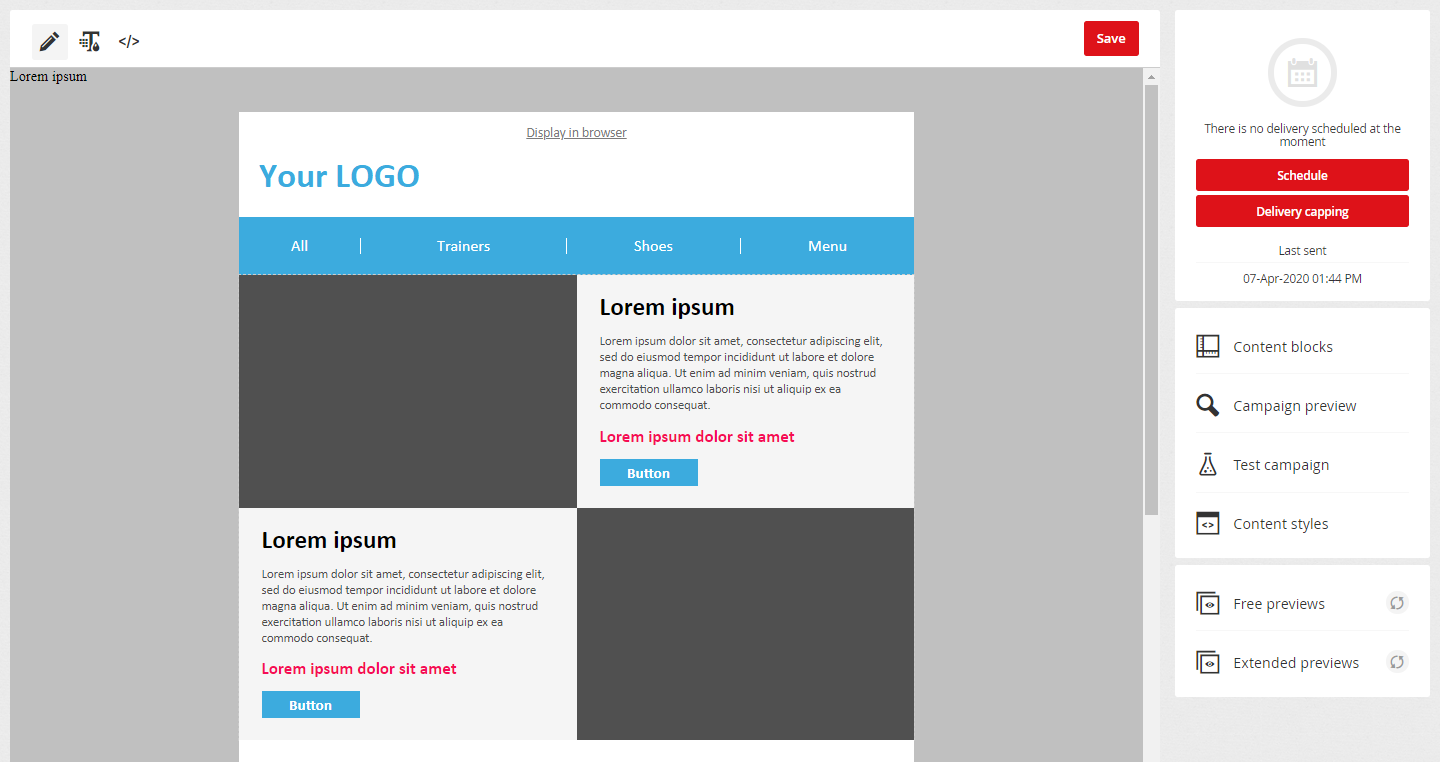
In the case of a campaign created in Visual Builder, it is possible to edit the template in the campaign editing menu.
Use micro-site templates
Check this option if you have a template assigned to the campaign that includes the micro-sites you want to have active in that campaign.
Advanced settings
Reply-to
If you need recipients to reply to an email address other than the one from which the campaign is being sent, you can fill in that address here. If the reply-to address is the same as the sending address, it is not necessary to fill in this field. If you need each recipient to be able to reply to an individual reply-to address (eg. an assigned sales representative), this address can be set directly in the recipient's detail.
Type Reply-to
There are several options for setting up an address for replies:
- disabled – if the recipient decides to reply to the email, the reply will always be sent to the address from which the campaign was sent to the recipient, ie. "Reply-to" addresses set in the campaign or in recipient's detail (if set), will be ignored.
- force from campaign – if the recipient decides to reply to the email, the reply will always be sent to the "Reply-to" address set for the campaign. If "Reply-to" is also set in the recipient's detail, it will be ignored in this case. If the "reply-to" address in the campaign is not set, the campaign will not be able to be sent.
- force from recipient – if the recipient decides to reply to the email, the reply for recipients who have a "Reply-to" address set in the recipient's detail will be sent to this address. If the recipient's "Reply-to" address is not set, the reply will be sent to the address from which the campaign was sent to the recipient. The "Reply-to" address set for the campaign will be ignored in this case.
- prefer recipient – if the recipient decides to reply to the email, the reply for recipients who have a "Reply-to" address set in the recipient's detail will be sent to this address. If the recipient's "Reply-to" address is not set and "Reply-to" is set for the campaign, the "Reply-to" address set for the campaign will be used for the reply. If no "Reply-to" address is set for the campaign or the recipient, the reply will be sent to the address from which the campaign was sent to the recipient.
Send unsubscribes to
If you wish to receive email notifications that some of the recipients has unsubscribed, you can specify here to which address these notifications will be sent. You turn these notifications on and off in your account settings.
However, we recommend webhooks for the immediate transmission of complete opt-out information.
Campaign topic
Campaign topics let you classify your campaigns into different types of focus, and this breakdown allows recipients to determine their preferences. If you use campaign topics, for each campaign select the topic that the campaign falls into from the drop-down list.
Convert CSS styles to inline
By default, this option is disabled. When you turn it on, the system automatically converts CSS styles to an inline form. But beware - this feature is not compatible with message responsiveness.
Enable 3rd party link tracking
Mailkit allows you to pass tracking information to third-party systems and your website. You can read more about 3rd party tracking options in the article on Advanced tracking.
- Tracking tagset – selection of a tagset for tracking
- Name for analytics – the name can be written to any of the parameters using the variable [GA_NAME]
Test mode
You can switch your campaign to test mode and fill in the email address where all emails should be sent. The test mode works by sending all messages that would be sent to recipients when sent, only to the specified test address, but with the content and appearance in which they would have been sent to the recipients – if 100 recipients are assigned to a campaign and the campaign is sent with an active test mode, all 100 messages will be sent to the specified test address! This feature is most often used to test remarketing and transactional campaigns.
Lock campaign
A user with Administrator user rights can lock the campaign, so that users with Publisher and Editor user rights cannot edit it.
Email campaign editor
The mode of the email campaign editor and its options depend on whether it is a Smart template-based campaign, campaign based on Content style (Drag and drop), or a campaign created in Visual Builder.
Campaign created in Visual Builder
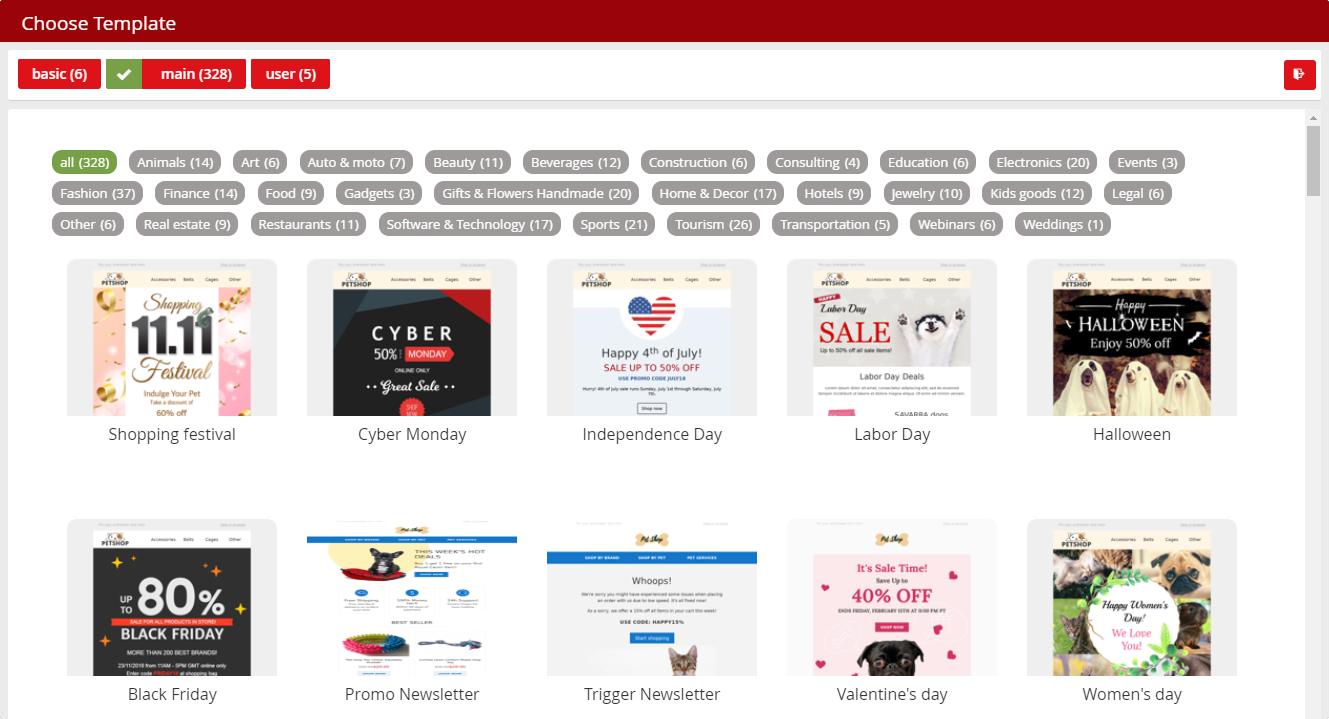
Clicking the "Edit Campaign" button will bring up a window offering templates that can be used in the campaign. Templates are divided into several folders:
- basic – set of simple basic templates. If the campaign has already been edited and saved, this folder also contains the current version of the campaign content
- main – a set of more than 300 ready-made templates that can be used immediately to create/edit a campaign. You can narrow the selection of templates by clicking on one of the labels
- user – a set of templates created and saved by a user within a Mailkit account

Campaign based on Content Style template
The Editor will appear by clicking the "Edit Campaign" button. The prepared content blocks from the left menu are then simply dragged into the template and further edited here.

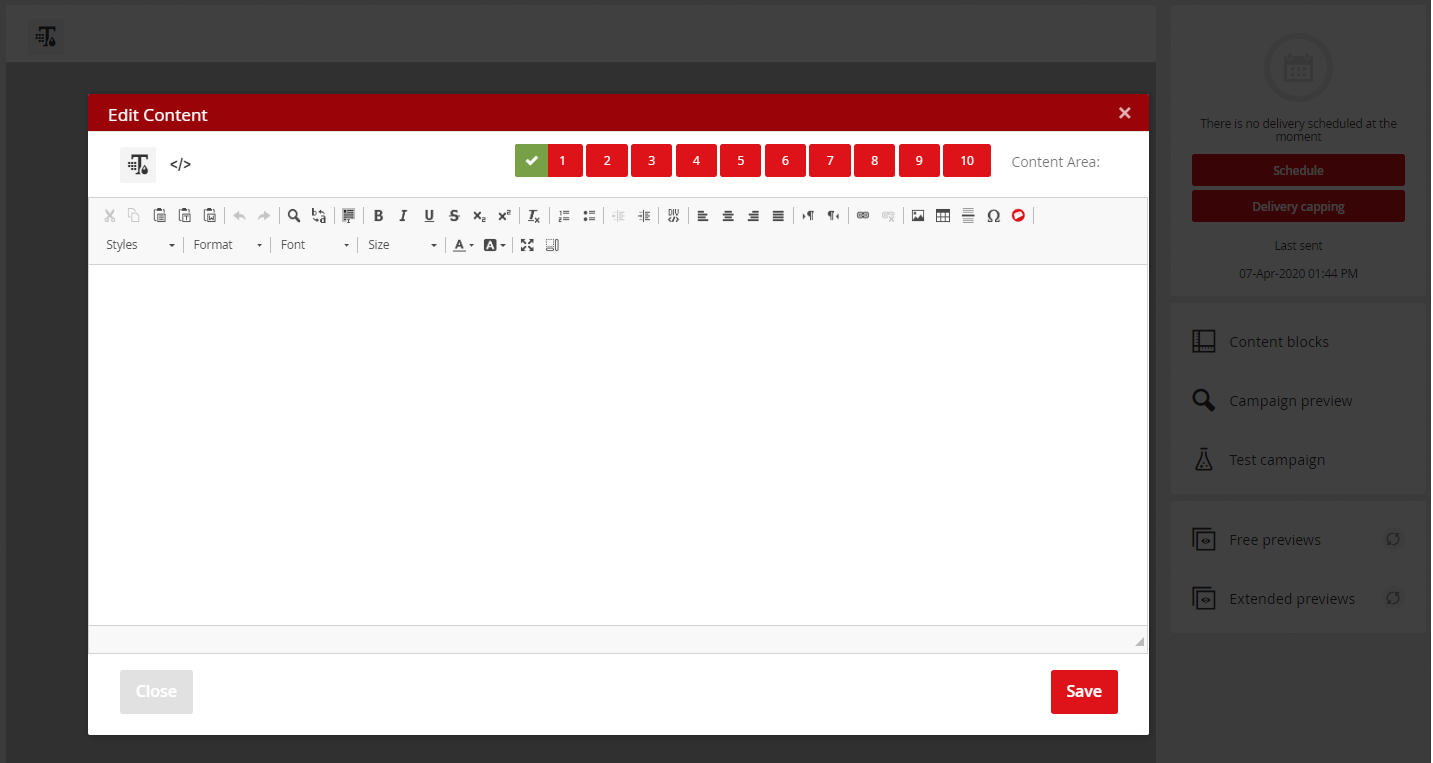
Campaign based on Smart template
If the campaign is based on a template, it can be edited by the campaign editor only if there are content areas defined in the template for editing in the editor. Clicking on the editor area will display this additional editor for editing content areas (1-10).

The
The


